
About the Products
————————-
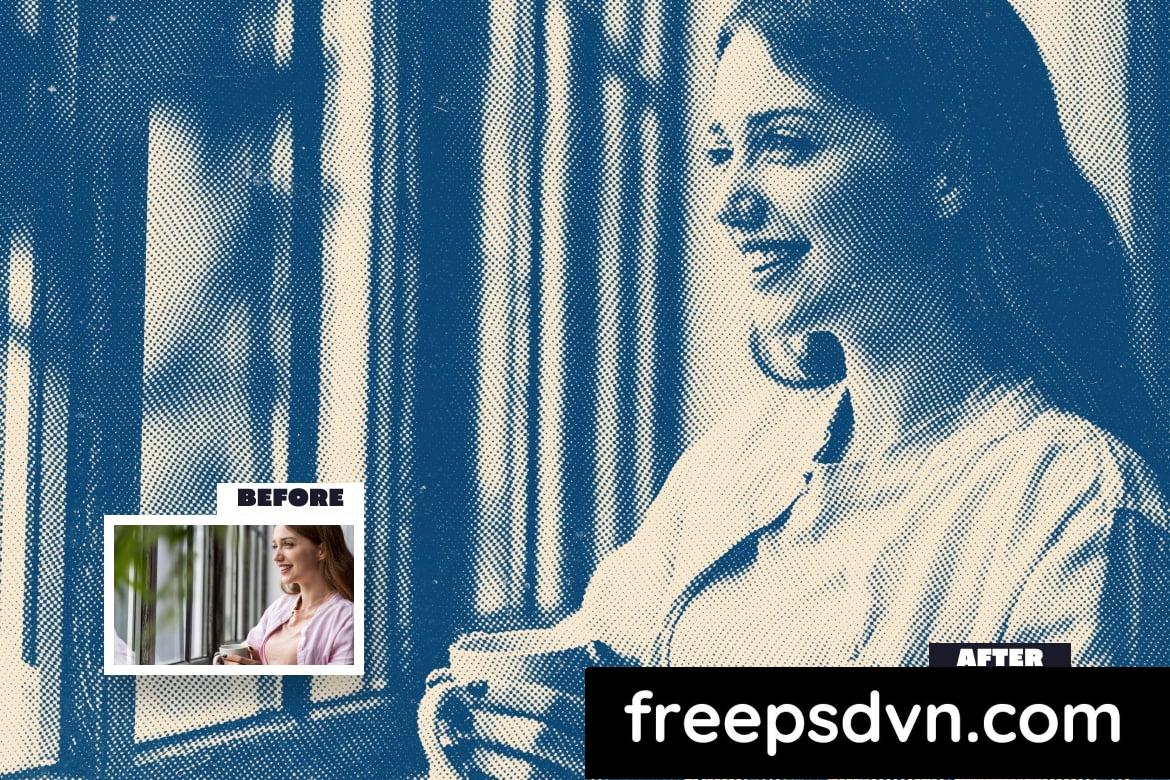
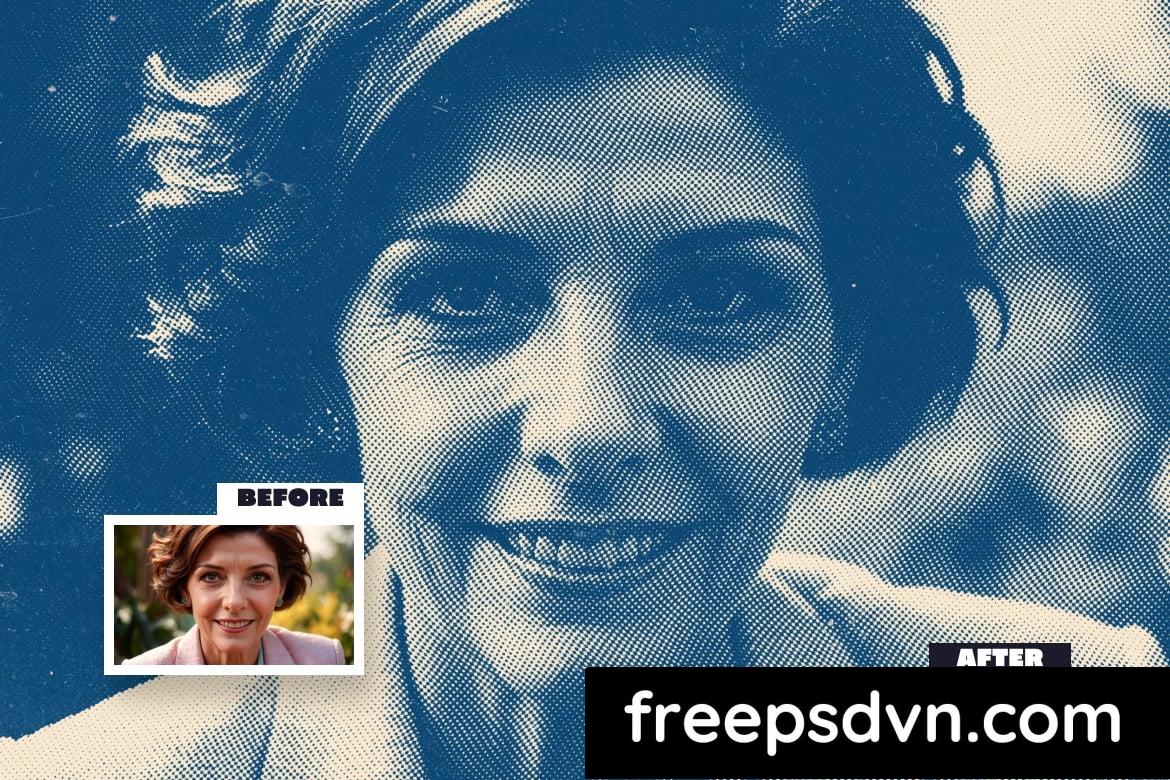
Introducing my new product Dotted Halftone Photo Effect
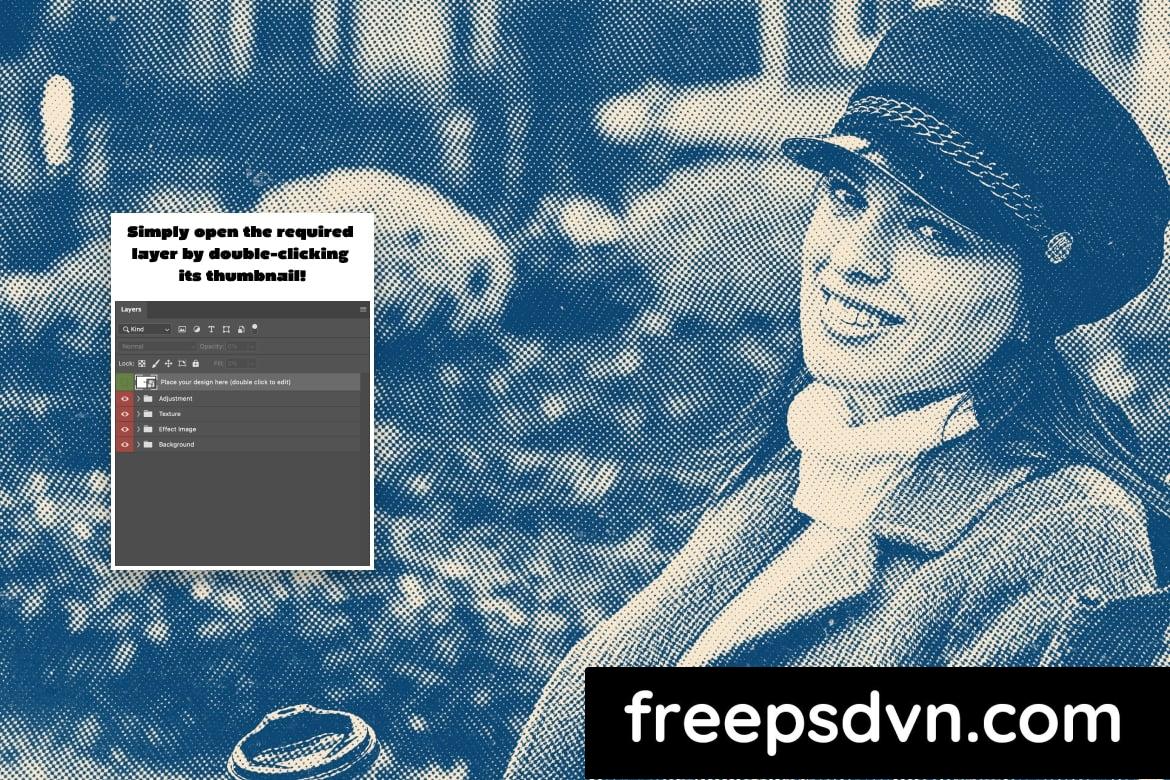
In the zip file, you will find the instruction change text or logo via Smart Object and download links for some free fonts that I used in this presentation.
Thanks for your interest in my previous text effect products and I always try to create original and unique products for you. Now I am introducing the most glamorous product of me of all time. It is equipped with precise realistic details and aesthetical look. It is so easy and ready to use, just type what you want.
Go for this Dotted Halftone Photo Effect look for all your text and logo’s in seconds!
Features and Benefits
————————-
- All texts are editable: You can edit all the texts. These styles work on any text and font perfectly.
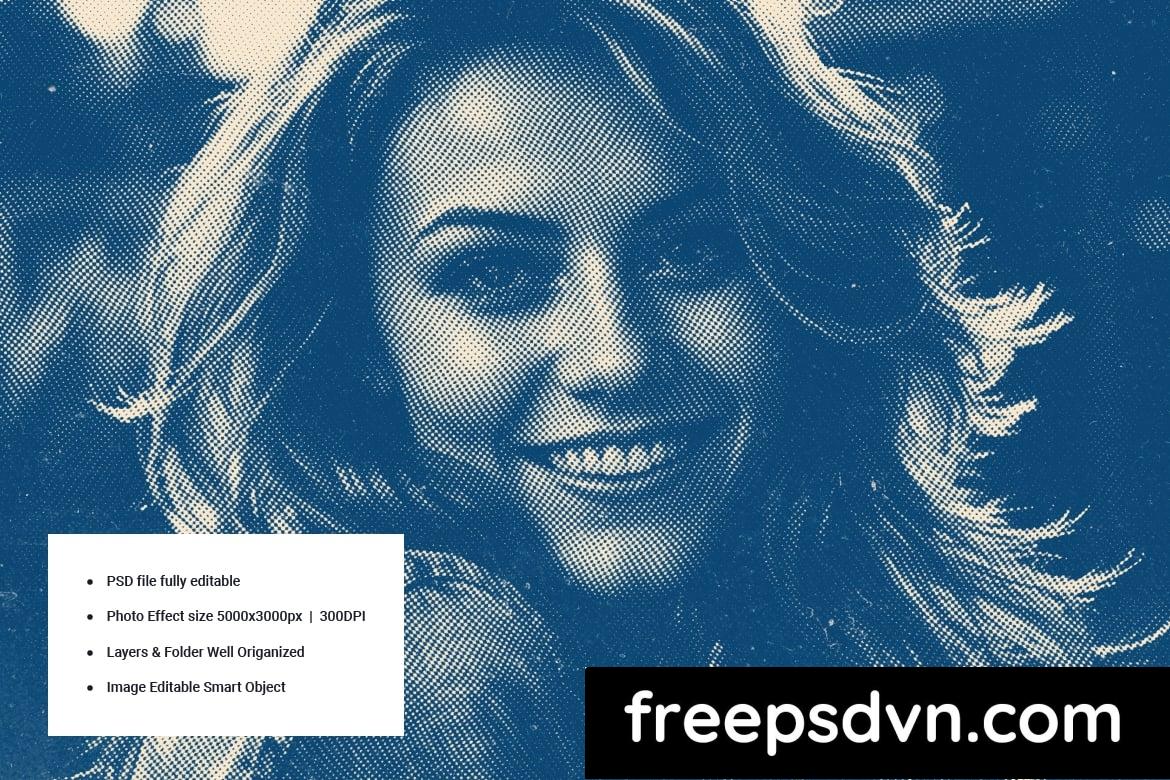
- Usable in 300DPI projects: These styles work perfectly with 300DPI projects. You can also use these styles for print projects.
- Clean and orderly layers: All layers are properly named and categorized. So with a quick look at the layers, you can find what you are looking for.
- It only works with Adobe Photoshop.
- Smart Object – 5000×3000 pixels
Have you ever come across a photo with a unique effect that looks like a pattern of dots rather than a smooth image? That captivating look is called a dotted halftone photo effect. In this article, we’ll delve into how you can create this effect for your own photos!
What is a Dotted Halftone Photo Effect?
A dotted halftone photo effect is a design technique where an image is turned into a pattern of dots of varying sizes to create a stylized and artistic appearance. This effect can add a vintage feel or a modern twist to your photos, depending on how you use it.
How to Create a Dotted Halftone Photo Effect
To create a dotted halftone photo effect, you can use photo editing software like Adobe Photoshop or online tools like Photopea. Here’s a simple guide to get you started:
- Open Your Image: Begin by opening the image you want to apply the dotted halftone effect to in your chosen editing software.
- Convert to Grayscale: Convert your image to grayscale to simplify the color tones and make the dots stand out more effectively.
- Apply the Halftone Filter: Look for the halftone filter in your editing software and adjust the settings to control the size and spacing of the dots. Experiment with different settings to achieve your desired look.
- Fine-tune the Effect: Once you’ve applied the halftone filter, make any additional adjustments to the contrast, brightness, or levels to enhance the overall effect.
- Save Your Dotted Halftone Image: Finally, save your edited image in the desired format and enjoy your new artistic creation!
Tips for a Stunning Dotted Halftone Photo Effect
- Experiment with Different Dot Sizes: Play around with different dot sizes to see what works best for your image.
- Use High-Resolution Images: High-resolution images will result in a sharper and more detailed halftone effect.
- Combine with Other Effects: Mix the dotted halftone effect with other filters and adjustments for a truly unique look.

addOnsFileTypes: PSD
addOnsApplicationsSupported: Adobe Photoshop
Additions: hasDocumentation,
Now that you have the tools and tips to create a dotted halftone photo effect, have fun experimenting with this creative and eye-catching technique!
Download the Zip File: Simply click on the provided direct download link. Your browser will typically recognize that it’s a direct link to a file.
Extract the Files: Right-click on the zip file and select an option like “Extract” or “Extract Here” from the context menu. Alternatively, you can use file archiving software like WinZip, 7-Zip, or macOS’s built-in Archive Utility.