2206177 Double Exposure Photoshop Action 6NSH55
Photoshop ATN | 36 Kb
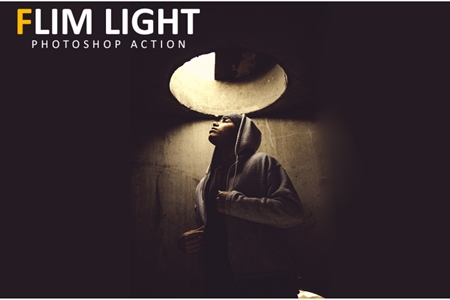
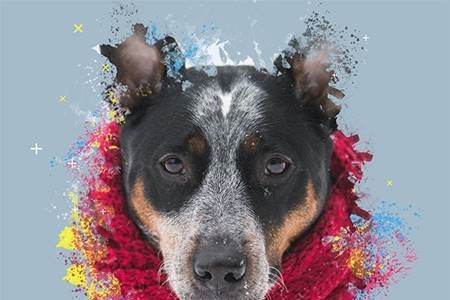
Double Exposure Action – a great tool for a photographer or designer. Create a wonderful effect of double exposure in a few seconds. After action finished work, you can add a color tone, or gradient to your composition. This effect is one of the leading places on the number of sales for many months!
Link on the detailed video tutorial for this action included in Help file.txt
Now it’s works with English, German, French, Italian, Spanish, Dutch, Danish and Czech version of Photoshop. You no need to change language in your Photoshop. Use Photoshop on your native language!
If your language is no in the list of languages is not a problem! How to change language in photoshop watch on youtube. The link under video tutorial.
This action created and optimized for use on Photoshop CS3, CS4, CS5, CS6, CC
How to configure Photoshop to work with actions.
1. Make sure you are using the English version of Photoshop.
Each action has been created and optimized to work only with the English version of Photoshop, so please make sure that you are using this version. If not, don’t worry: you can change the language of your version of Photoshop to English (and switch back again)
By the way, my best selling Double Exposure Action has recently been updated, and you can now use it with the English, German, French, Italian, Spanish, Dutch, Danish and Czech versions of Photoshop.
2. Use the RGB Mode and 8 Bits color.
To check these settings, go to Image->Mode and check the “RGB color” and “8 Bits/Channel”.
3. Make sure that the option “Add ‘copy’ to Copied Layers and Groups” is turned on.
This option applies only to CS5 and later versions of Photoshop. On the “LAYERS” panel, click on the menu icon, go to “Panel Options…”, and check that the “Add ‘copy’ to Copied Layers and Groups” is turned on.
4. Use a photo with 72dpi or higher.
If you are using a photo with less than 72dpi, the action will not function correctly. To fix this, go to Image->Image Size and increase the resolution value.
5. Set the Opacity of brush to 100%.
Set the Opacity of the brush to 100%. Select the “Brush Tool” and move the opacity slider to 100%.
How to combine my actions?
- Open your photo
- Play the first action
- Save the result as an image
- Open the previously saved image
- Play the second action
Photos used in preview are not included.


