
1806149 Digital Sketch Photoshop Action 18722982
Photoshop ABR, Photoshop PAT, Photoshop ATN | 51 Mb
Click on Google Drive logo for Free Download:
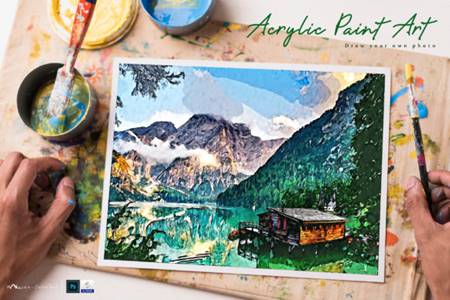
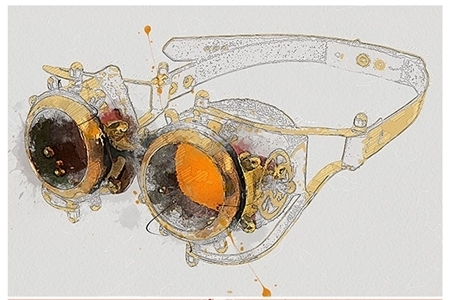
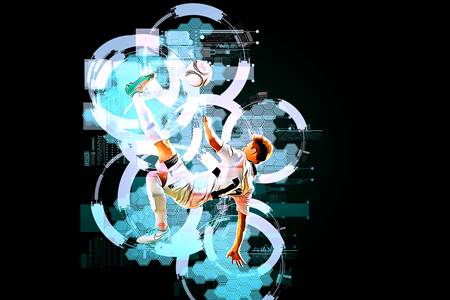
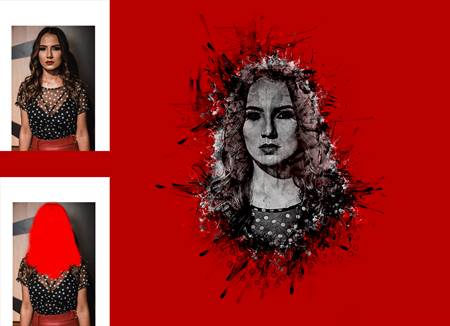
Digital Sketchturns your photo into realistic digital sketch. Action perfect works with portraits, full-body, character’s posing and other photos. Action contains 10 color FX. Save hours of work with this action. After action finish the work you get a well-organized and structured file with the many layers, folders and settings to improve the final result. Action perfectly work on Mac and PC.
This action has been created and optimized for use on Photoshop CS3, CS4, CS5, CS6, CC and ONLY FOR THE ENGLISH VERSION OF PHOTOSHOP. Need to change the language of your version?
If you have any problems with this action please visit the help page, where you will find answers to FAQs and recommendations for getting the most out of my actions. If you can’t find the answer to your question, and you’re still having trouble, please contact us.
How to configure Photoshop to work with actions.
1. Make sure you are using the English version of Photoshop. Each action has been created and optimized to work only with the English version of Photoshop, so please make sure that you are using this version. If not, don’t worry: you can change the language of your version of Photoshop to English (and switch back again) using this method
By the way, my best selling Double Exposure Action has recently been updated, and you can now use it with the English, German, French, Italian and Spanish versions of Photoshop.
2. Use the RGB Mode and 8 Bits color. To check these settings, go to Image->Mode and check the “RGB color” and “8 Bits/Channel”.
3. Make sure that the option “Add ‘copy’ to Copied Layers and Groups” is turned on. This option applies only to CS5 and later versions of Photoshop. On the “LAYERS” panel, click on the menu icon, go to “Panel Options…”, and check that the “Add ‘copy’ to Copied Layers and Groups” is turned on.
4. Use a photo with 72dpi or higher. If you are using a photo with less than 72dpi, the action will not function correctly. To fix this, go to Image->Image Size and increase the resolution value.
5. Set the Opacity of brush to 100%. Set the Opacity of the brush to 100%. Select the “Brush Tool” and move the opacity slider to 100%.
How to combine my actions?
1. Open your photo
2. Play the first action
3. Save the result as an image
4. Open the previously saved image
5. Play the second action
Photos used in preview are not included.

